Page 1 of 1
Worthwhile Mods on New Assembly
Posted: January 1st, 2018, 11:50 am
by Mr SNG
Because of other distractions my new printer has been its box for nearly two months now. Given time I plan to start the assembly within the next couple of weeks, browsing the web and youtube I have noticed there are many modifications that can be carried out to improve the machines performance and print quality.
So the question I would like to ask all you guys with experience what would you consider to be the most worthwhile Mods to fit as I assemble the machine, as this has to be a time saver rather than carrying out the Mods after the machine has been assembled.
Your advice will be appreciated
Many thanks
Dave
Re: Worthwhile Mods on New Assembly
Posted: January 1st, 2018, 12:10 pm
by Roberts_Clif
The mods you are asking for would depend on the model 3D Printer you have purchased.
My 3D Printers came with Z-Axis end-stops to-wit, replaced with Z-Axis Inductive probe having an aluminum hotbed.
Otherwise I would have went with a BL-Touch Probe for use with all other hotbed materials.
Re: Worthwhile Mods on New Assembly
Posted: January 1st, 2018, 12:15 pm
by GrueMaster
Depends on which printer you purchased. I have both the Hictop 3DP-17 Autoleveling printer, and the Hictop CR-10S. Each has mods unique to it with some similarities.
If you have one of the 3DP models with an autolevel sensor:
https://www.thingiverse.com/thing:1534152
https://www.thingiverse.com/thing:2127855 (the wing nuts will shake themselves loose during larger prints).
Later on, you will want to purchase some additional mods, like an aluminum bed carriage plate like
http://a.co/iYpIuaa.
For the CR-10/10S:
http://www.thingiverse.com/thing:2186203 (Critical as the cable assembly will break after a few prints otherwise - may be included with newer kits).
http://www.thingiverse.com/thing:2186203 (Makes leveling tons easier).
The rest are really personal preference (like
https://www.thingiverse.com/thing:2323055).
Re: Worthwhile Mods on New Assembly
Posted: January 1st, 2018, 12:43 pm
by Mr SNG
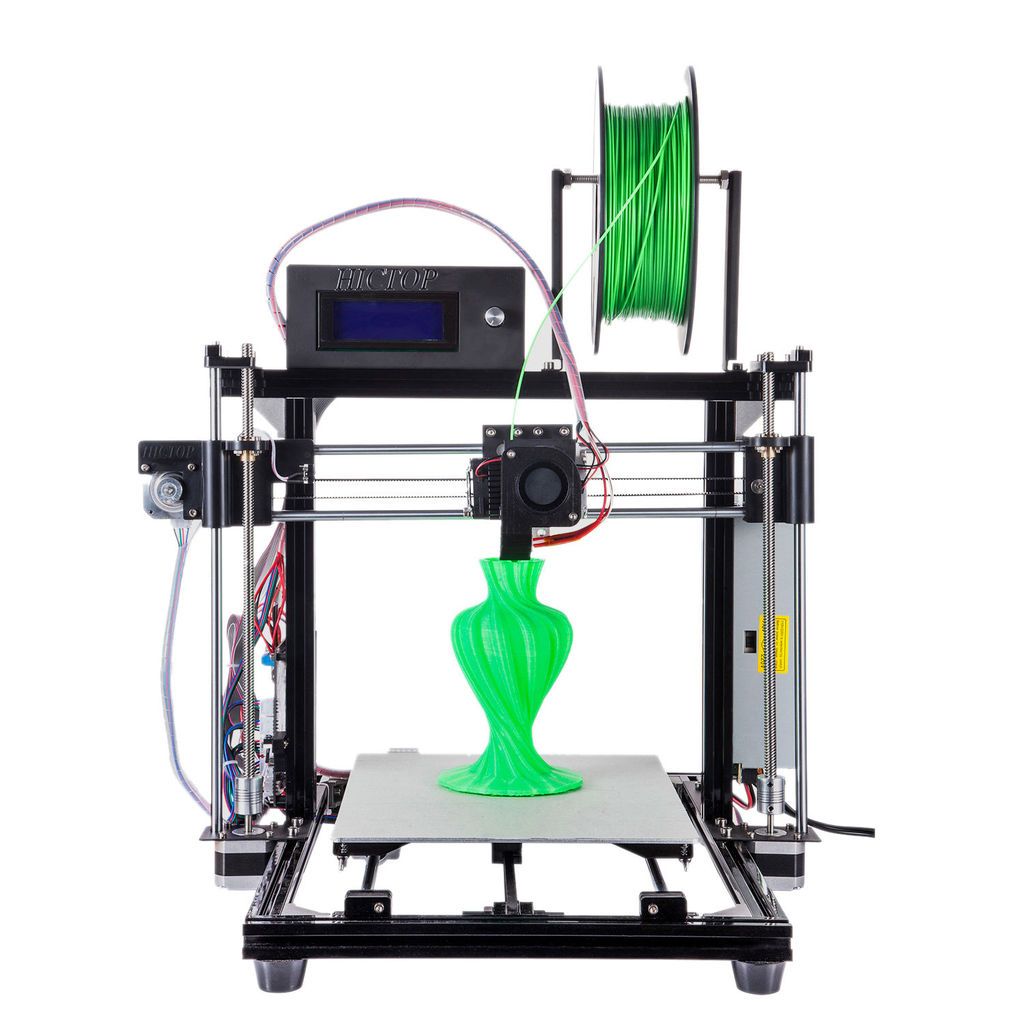
This is the model I purchased : HICTOP 24V Aluminum Auto Level Reprap PrusaI3 3D Printer MK8 Large 270*200*195MM
It wasn't expensive so I'm not expecting too much. However reading about Hictop on the web it would seem I have made a good choice as there are a lot of people out there who rate these printers and carrying out all sorts of mods.
Re: Worthwhile Mods on New Assembly
Posted: January 1st, 2018, 1:03 pm
by GrueMaster
Sounds like the same one I have. Hard to tell. They keep changing model numbers (mine was the 3DP-17, then relabeled 3DP-14 on Amazon shortly after I bought it). As long as it isn't one of the plastic frame printers, you should be quite happy.
And welcome to you club!

Re: Worthwhile Mods on New Assembly
Posted: January 1st, 2018, 1:45 pm
by Mr SNG
Yes it has an Alloy frame :
Re: Worthwhile Mods on New Assembly
Posted: January 1st, 2018, 2:03 pm
by GrueMaster
Ok, looks like the 3DP-11/12. AFAIK, the only difference is mine has a filament sensor (more trouble than it is worth imo).
Take your time assembling it. Make sure everything is square. It will save you a lot of trouble in the long run.
Re: Worthwhile Mods on New Assembly
Posted: January 1st, 2018, 2:21 pm
by Mr SNG
Cheers GrueMaster I'm an engineer so at least that part of the task will be carried through correctly !

Re: Worthwhile Mods on New Assembly
Posted: January 1st, 2018, 4:45 pm
by Roberts_Clif
Meet the Twins
Need help have all marlin 1.1.X setup for the Twins, all you have to change is the filament run-out sensor and setup for your Z-Axis Sensor.
Re: Worthwhile Mods on New Assembly
Posted: January 2nd, 2018, 6:43 am
by Mr SNG
@ Roberts_Clif is there a topic posted on the forum on how to change /upgrade the filament sensor?
P.S Like the twins
Re: Worthwhile Mods on New Assembly
Posted: January 2nd, 2018, 11:58 am
by Roberts_Clif
There's lots on thingiverse.
However cannot find that I have ever let my design out. So Here we go.
I use a end-stop switch that is cut down to save space.
I desolder the Switch, and cut alone the lines. Being careful not cut thru the Connector.
Position the switch shown in image 1, Trim the top and bottom switch terminal off leaving enough terminal to solder onto. (Cut mine a the 90 leaving 2mm of lead, do not trim the center lead, it will return the the original solder hole)
Re-solder the switch center connection. Run a wire from the top and bottom to the switch across to the top and bottom of the connector.
Top to top bottom to bottom. As shown in image 1.
This is all you have to do outside Assemble Step. However I wanted a lighted Filament run-out sensor.
Solder a 1K ohm resistor the the unused switch hole, solder an led to the resistor trimming the led as short as possible observe polarity.
And Finish be soldering the led the the bottom of the switch as shown in image 1.
Box measurements 16mm X 30mm X 37mm
Assemble Step
Print the Run-out sensor box. Fit an glue the board into position. Making sure the switch operates correctly.
Glue the board into place with a couple drops of superglue.
And yes I could have used the original resistor and led board piece. Did not think when making the first ones.
Assemble the box insert filament, Plug in and mark led position. Open the box and drill a hole for the led to shine thru.
Re: Worthwhile Mods on New Assembly
Posted: January 3rd, 2018, 1:15 pm
by Mr SNG
I take it that your end stop switch is an axis limit switch is it not?
Re: Worthwhile Mods on New Assembly
Posted: January 3rd, 2018, 7:17 pm
by Roberts_Clif
Have switches with two wires standard Hictop like yours. I used this generic lighted end-stop switch to build a lighted Filament run-out Sensor.
lit when filament present and signal to ground. Filament out Signal to 5v, led extinguished. If I designed the circuit the LED would have connected to NC with a 1.6k resistor on the vertical 5v line ("making signal to 5v thru a 1.6K resistor").